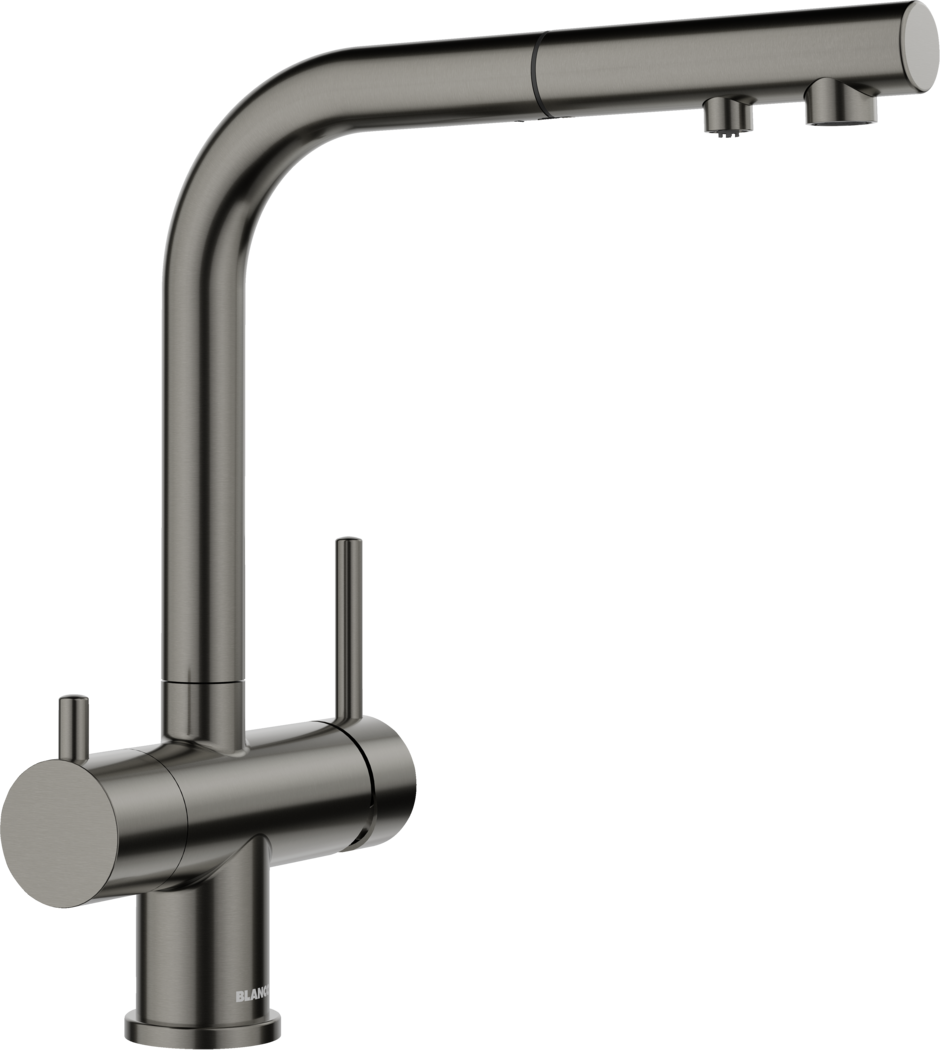
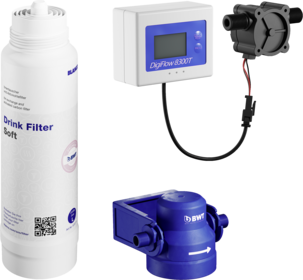
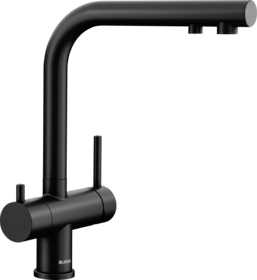
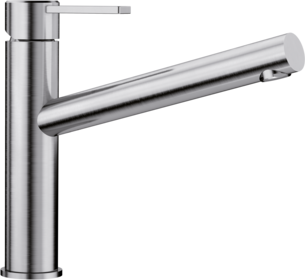
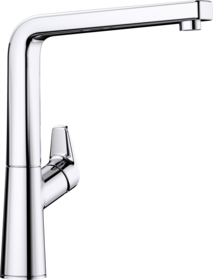
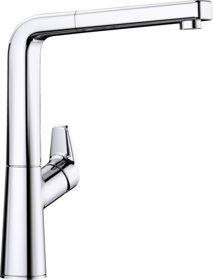
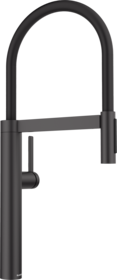
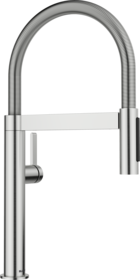
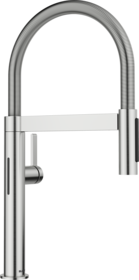
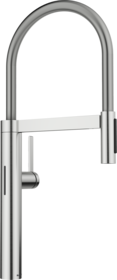
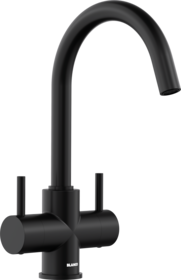
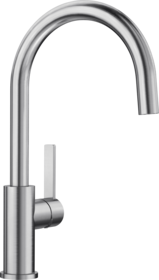
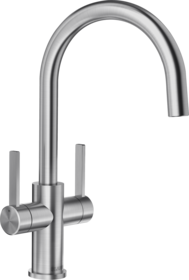
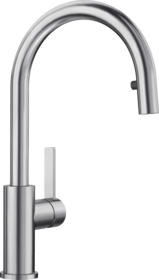
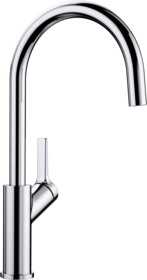
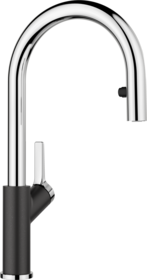
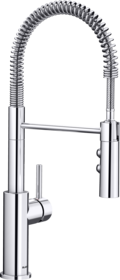
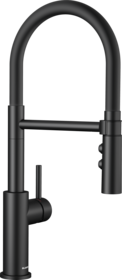
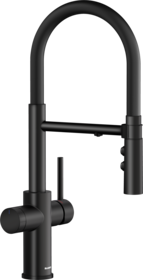
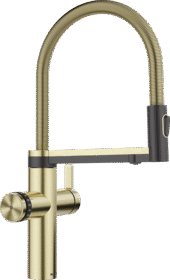
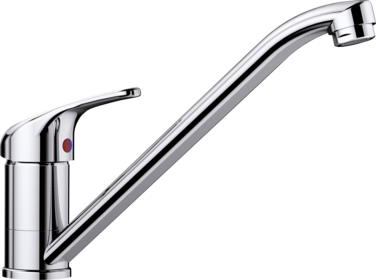
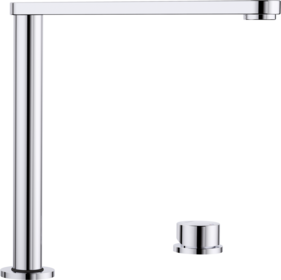
FONTAS II Filter
FONTAS-S II Filter
raw material: brass
colour: satin dark steel
high spout: Yes | wall mounted: No | high/low-pressure: High Pressure
Article number 527737
Accessories
Recommended Accessoires
Data & Documentation
Data sheet & Documentation
- 2 spray types
- No
- 2-handle
- No
- archetype
- L-shape
- bridge
- No
- filter mixer tap
- Yes
- flow rate (actual) at 3 bar (l/min)
- 7.7 l
Models
Other FONTAS II Filter models
Care Products
Care products for your FONTAS-S II
Spare parts
Spare parts
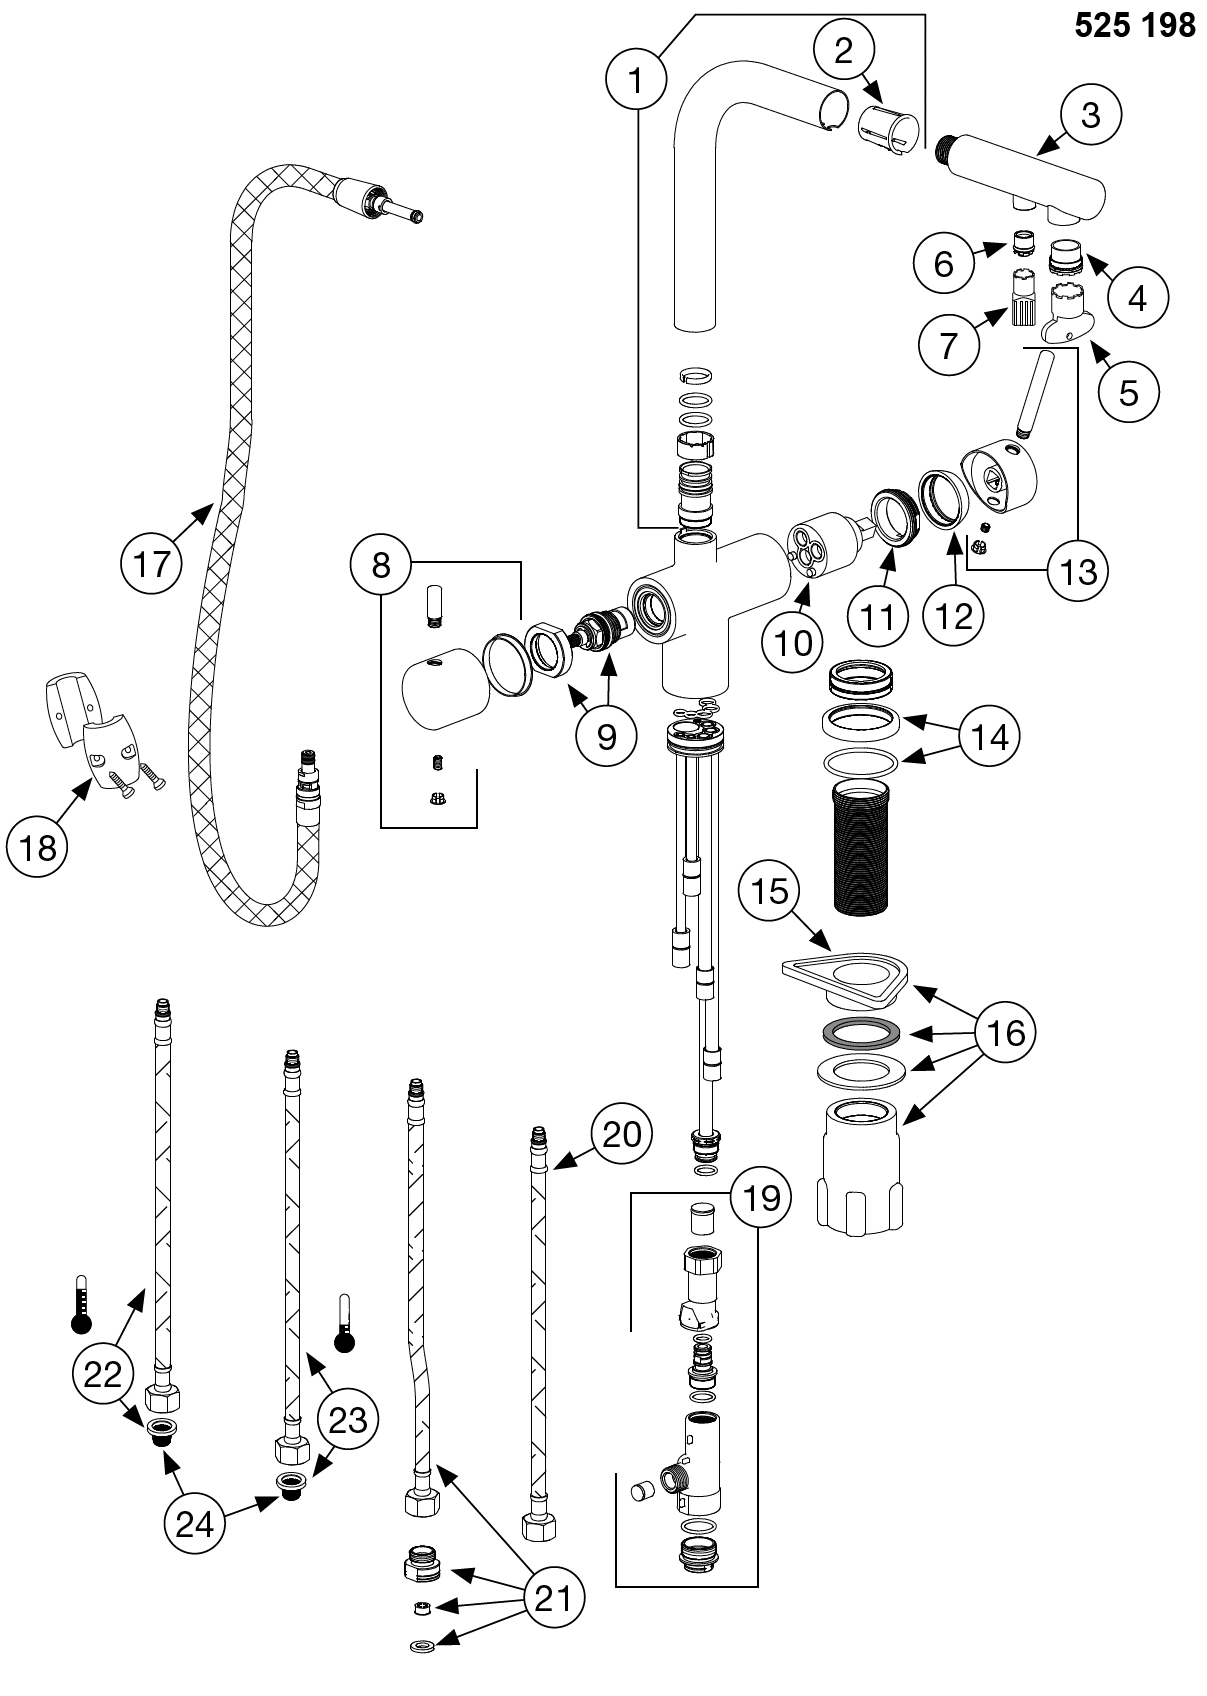
| № | Image | Article numbers & descriptions | Price |
|---|---|---|---|
| 2 | 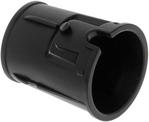 | Art. ID: 123643 Fitting piece spray head FONTAS-S II | |
| 3 | 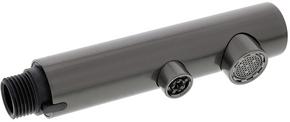 | Art. ID: 129141 Spray head HP FONTAS-S II satin dark steel | |
| 4 | 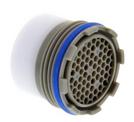 | Art. ID: 121196 Jet regulator LAMINAR HP Caché M16,5 x 1 | £24.99 |
| 5 | 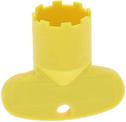 | Art. ID: 118970 Key Caché yellow for TT | £7.49 |
| 6 | 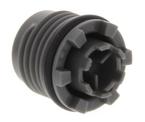 | Art. ID: 122869 Jet regulator filter water FONTAS II | £22.49 |
| 7 | 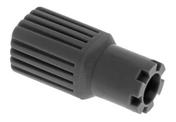 | Art. ID: 122870 Jet regulator key for filter water FONTAS II | £12.49 |
| 8 | 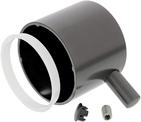 | Art. ID: 129137 Lever filtered water FONTAS /-S II satin dark steel | |
| 9 | 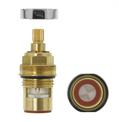 | Art. ID: 121643 Valve core, locknut TRIMA / FONTAS II | £26.99 |
| 10 | 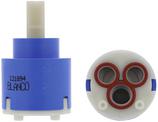 | Art. ID: 121894 Cartridge HP 35 mm K-35A | £35.49 |
| 11 |  | Art. ID: 121644 Locknut cartridge TRIMA / FONTAS II | |
| 13 | 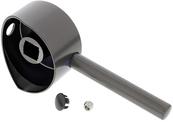 | Art. ID: 129138 Lever mixed water FONTAS /-S II satin dark steel complete | |
| 13 | 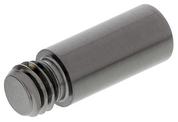 | Art. ID: 129187 Short pin 20 mm for lever satin dark steel | |
| 15 | 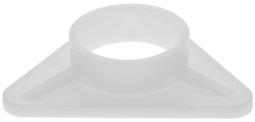 | Art. ID: 126945 Stabilization plate ORION / PALLAS / TERA / URANUS | £7.49 |
| 16 | 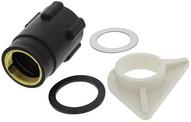 | Art. ID: 121653 Assembly set TRIMA / ELOSCOPE-F | £22.99 |
| 17 | 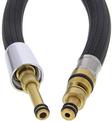 | Art. ID: 123645 Shower hose FONTAS-S II | |
| 18 | 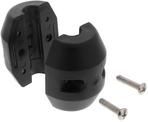 | Art. ID: 123646 Weight for shower hose (390 gr) | |
| 19 | 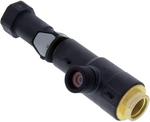 | Art. ID: 123714 Shower hose adapter FONTAS-S II | £14.99 |
| 20 | 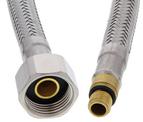 | Art. ID: 123647 Flex.hose 472mm ST N FL EU ⅜-M8x1 | |
| 21 | 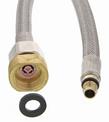 | Art. ID: 121654 Flex hose 50cm filter water ⅜-M8x1 | |
| 22 | 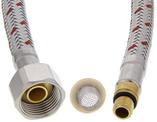 | Art. ID: 123648 Flex. hose 50cm ST R FI EU ⅜-M8x1 | |
| 23 | 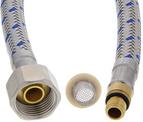 | Art. ID: 123649 Flex. hose 50cm ST B FI EU ⅜-M8x1 | £21.99 |
| 24 | 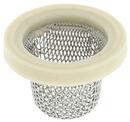 | Art. ID: 118840 Filter gasket for corner valve ⅜'' | £7.49 |
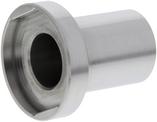 | Art. ID: 121967 Special tool for locknut cartridge TRIMA | ||
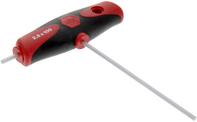 | Art. ID: 139188 Allen key (key size 2.5 mm) | ||
 | Art. ID: 511920 Spray hose guide for kitchen mixer taps | £16.99 | |
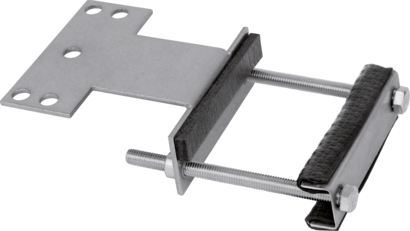 | Art. ID: 513383 Additional mixer taps stabilisation 60 mm | £21.99 |
FAQ
Frequently Asked Questions
Generally speaking, our mixer taps are easy-care and hygienic. This is thanks to their smooth surface, which allows hardly any dirt to settle on it. However, mixer taps do benefit from regularly cleaning. It doesn’t take much effort, but it needs to be done frequently. Take a mild cleaning agent and go over the mixer taps a few times with the soft side of a sponge. Now rub them dry with a microfibre cloth, and you’ll see that your mixer taps are back to being a stand-out feature of your kitchen once again, in just a few simple steps.
If your low-pressure mixer tap is dripping slightly, there’s no need to get a plumber in right away. This is completely normal. The reason is that low-pressure mixer taps are normally connected to a boiler. If you have used some warm water, cold water will flow into the boiler to be heated up. The rise in temperature means that the water in the pipe expands. As a result, the rising water pressure causes a small amount of water to be pushed into the mixer tap, where a few drops will escape.
Most people will need a high-pressure mixer tap in their home. This is always the case if the water is heated by the central water supply. You can tell whether applies to you if your kitchen has a wall valve for both cold and warm water pipes. You will therefore need a mixer tap that can handle the high water pressure from the pipes. Sometimes, however, your flat or house many not have a central hot water supply. In this case, the water will be heated by a boiler or flow heater. If your home has a flow heater for warm water, you will also need a high pressure mixer tap. A low-pressure mixer tap is required if your warm water is supplied via a boiler. This minimises the pressure from the water pipe and conducts the water at a much lower pressure into the boiler.
Our pull-out sprays make your everyday life a little easier. They allow you to get the water to the part of the sink where it is actually needed. Flexible and effective. As such, our hoses are designed for constant movement. Just make sure that the hose does not develop any kinks. This can damage it, causing it to start dripping. If the hose is no longer gliding smoothly back into the body of the tap, this doesn’t mean that you’ve done something wrong. Simply apply a little mixer tap lubricant as soon as the first signs start to show. That should do the trick. The hose will then glide back into place quickly and directly, just as it did before.
Imagine standing in the sunshine at the kitchen window and calmly doing the washing up. Our mixer taps make this possible. Just take a look at our detachable, lowerable or collapsible mixer taps. These three concepts allow you to open the window on the other side of your sink easily and in only a few steps.
A spraying mixer tap gets water everywhere, not just in the sink bowl. This is usually caused by limescale that has accumulated in the mixer tap. Instead of reaching straight for an aggressive cleaning agent, adding a little citric acid or vinegar to your cleaning water should solve the problem. To clean it, wipe the fine mesh attached to the tap outlet clean. Go over it again with a soft microfibre cloth. The trick to preventing a spraying mixer tap is to clean it regularly, so limescale doesn’t get the chance to build up.
Splish, splash: a dripping tap is very annoying. However, there’s no need for agitation. This is either due to limescale deposits in the mixer tap cartridge, or the seals are no longer fit for purpose. Unless you’re very adept at DIY and have a well-equipped toolbox, it’s best to call a sanitary specialist to deal with this. If you’re up to handling it yourself, clean any calcified areas of the seals or mixer tap with citric acid or vinegar. If the seal has become porous it should be replaced using the right tool. Once that’s done, everything in your kitchen will be back in order again.
